v2 Firmware Configuration
Accessing the Configuration Page
To access the configuration page, enter the GATEway’s IP address into any web browser, which will open the scene selection window.
Click the menu in the top left and select “Back to Configurator”.
Creating Areas and Rooms
Areas, floors, and rooms are the organizational units for a project. Hierarchy is as follows,
AREA
— FLOOR 1
— ROOM 1
— ROOM 2
— FLOOR 2
— ROOM 1
— ROOM 2
Area – typically the project name (Smith Residence) or a specific building on a property (Pool House)
Floor – each level of the structure (First Floor, Upper Floor, etc.)
Room – a specific, separate location on a Floor (Kitchen, Dining Room, etc.)
Area(s) must be created first, followed by Floor(s) and finally Room(s).
Click  to save each entry.
Creating a Load
A Load is a single fixture or group of fixtures that will be controlled together. This is a permanent grouping, the GATEway will control any fixtures assigned to the same Load simultaneously.
Check the box of the Room where you’d like to create a Load, then choose the appropriate product type from the drop-down menus. Click  to save the load.
Refer to your Lighting Design or BOM for specific product details if needed.
Loads can be edited by hovering over the Load Name and selecting one of the tools below:
- 🖋️ icon to edit the Load Name.
- ❌ icon to delete the Load.
Creating a Driver
Drivers are created in a similar manner as Loads and can only exist in a single Room.
If you created individual “Panel” Rooms in the previous step, create each Driver in the Panel it’s located in on the Enclosure Diagrams. Otherwise, create the Driver(s) in the appropriate Room(s).
Driver Types
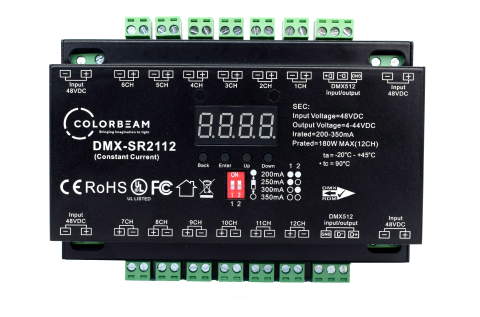
DMX-SR2112
Used for 48v load types
12 channels

SRPC-2108-24-200CVF
Used for 24v load types
4 channels
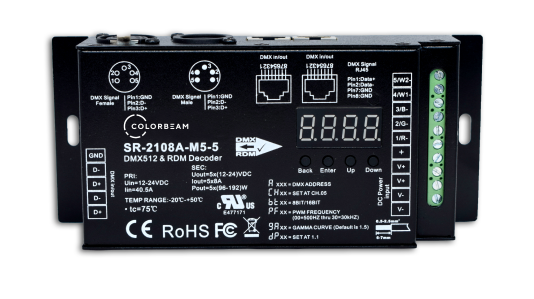
SR-2108A-M5-5
Used for 24v load types
5 channels
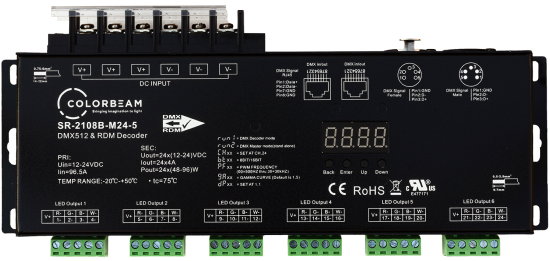
SR-2108B-M24-5
Used for 24v load types
24 channels
If only (1) GATEway-1DMX exists in the project, all Drivers should be created in Universe A.
If multiple GATEway-1DMX are used, select the correct Universe of the GATEway the Driver is physically connected to.
Example,
Primary GATEway – Universe A
Secondary GATEway – Universe B
Tertiary GATEway – Universe C
As Drivers are created, the DMX Address will automatically index to the next available value.
Connecting Loads to Drivers
Loads must be attached to a Driver(s) for proper control.
To assign Loads, navigate back to the Loads tab and select one or more Rooms from the project tree at left. Be sure to also select the Panel Room(s), if created earlier, otherwise select the Rooms where Driver(s) were created.
Expand each Driver by clicking the small arrow next to the Driver name.
Drag the Load name to the appropriate Channels on each Driver as indicated by the Enclosure Diagrams or, if no diagrams exist, where the Load has been physically attached to the Driver in the installation.
Each Load will automatically reserve the required number of Channels on the Driver based on the Load type.
Since a Load can include one or more fixtures, continue to connect the Load to all Drivers and Channels as needed.
Best Practices
Finalize the gateway configuration by testing the lights directly from the GATEway before integration, assigning a static IP address to your GATEway, and creating a backup for your configuration.
Testing
It is strongly suggested the configuration is tested for correct functionality during and after setup.
Two methods of testing are available.
Testing via DMX Table
- Available under the DMX tab
- Allows the user to send a value to one or more DMX addresses.
 will send a value of 255 (maximum brightness) to all 512 DMX addresses.
 will send a value of 0 (off) to all 512 DMX addresses.
- Alternatively, a value of 0-255 can be entered in any of the DMX addresses for control of a single fixture.
Testing via Interactive Page
– Available under the Interactive tab
– Allows the user to control each color of a Load. Any Fixture included in the Load will be controlled.
– The top color sliders will adjust the output of the Load and the bottom most slider will control the intensity.
Set A Static IP Address
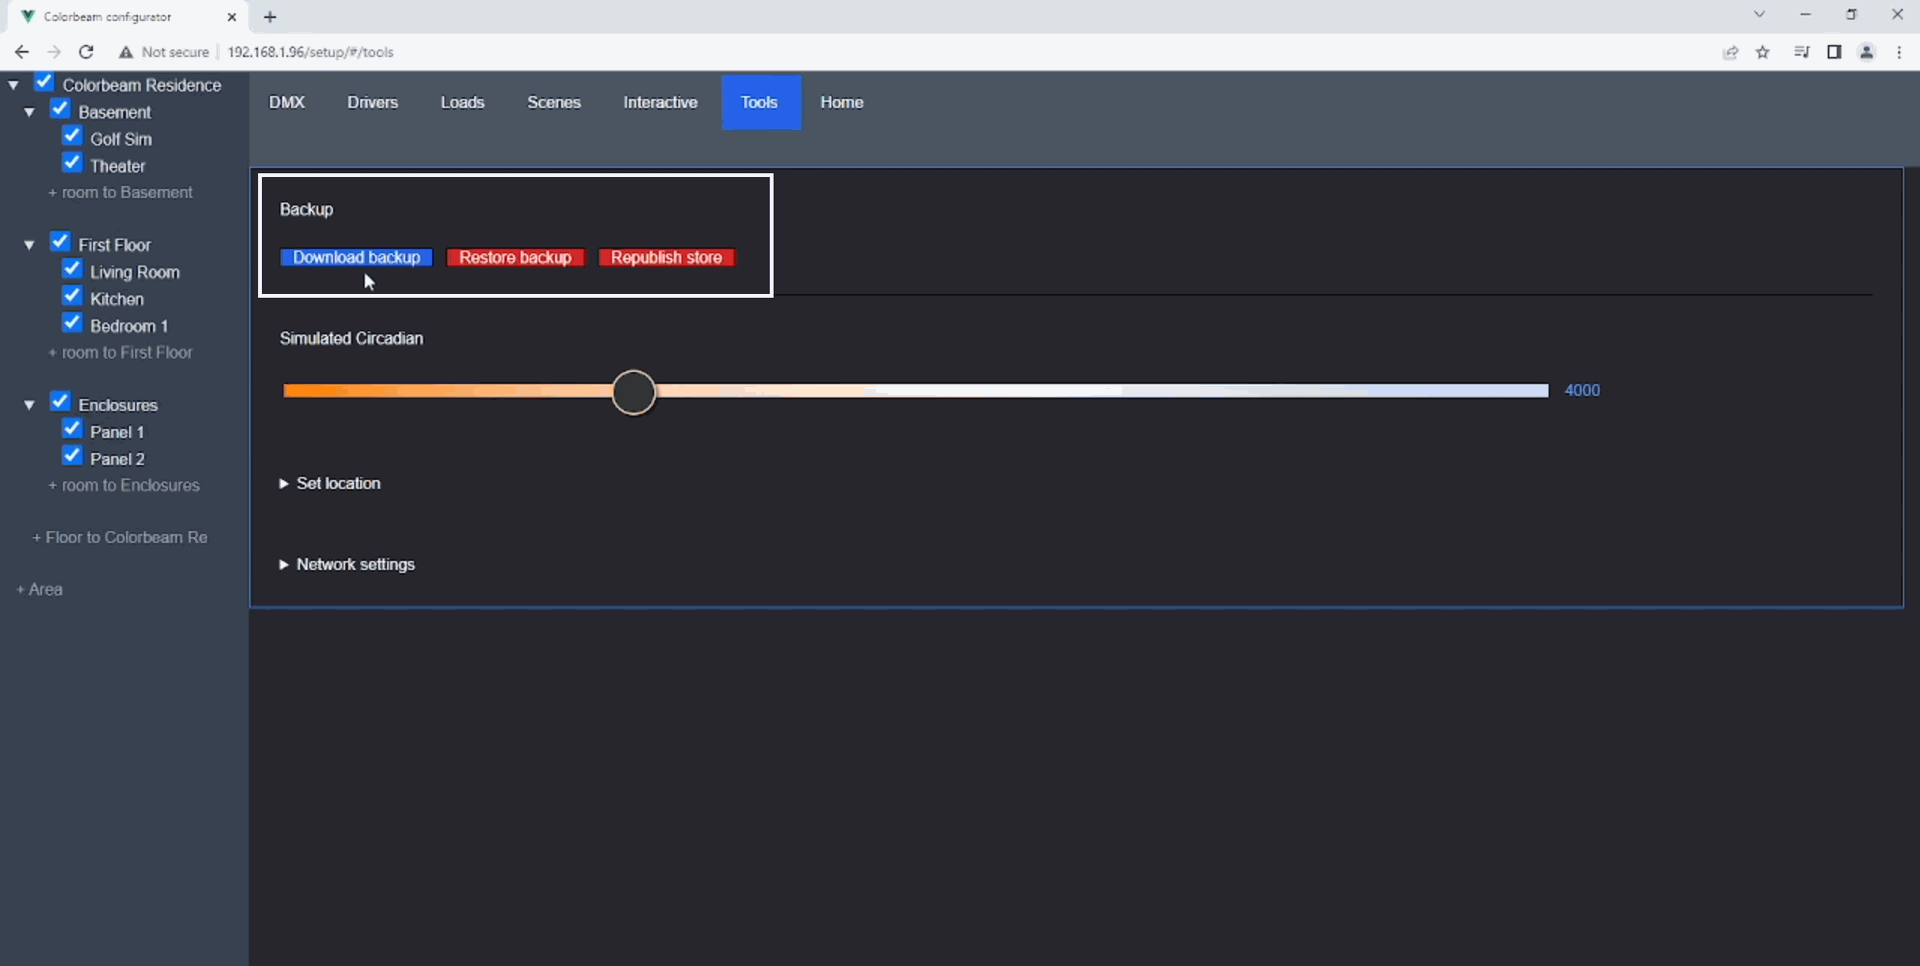
A static IP address can be assigned under the Tools tab.
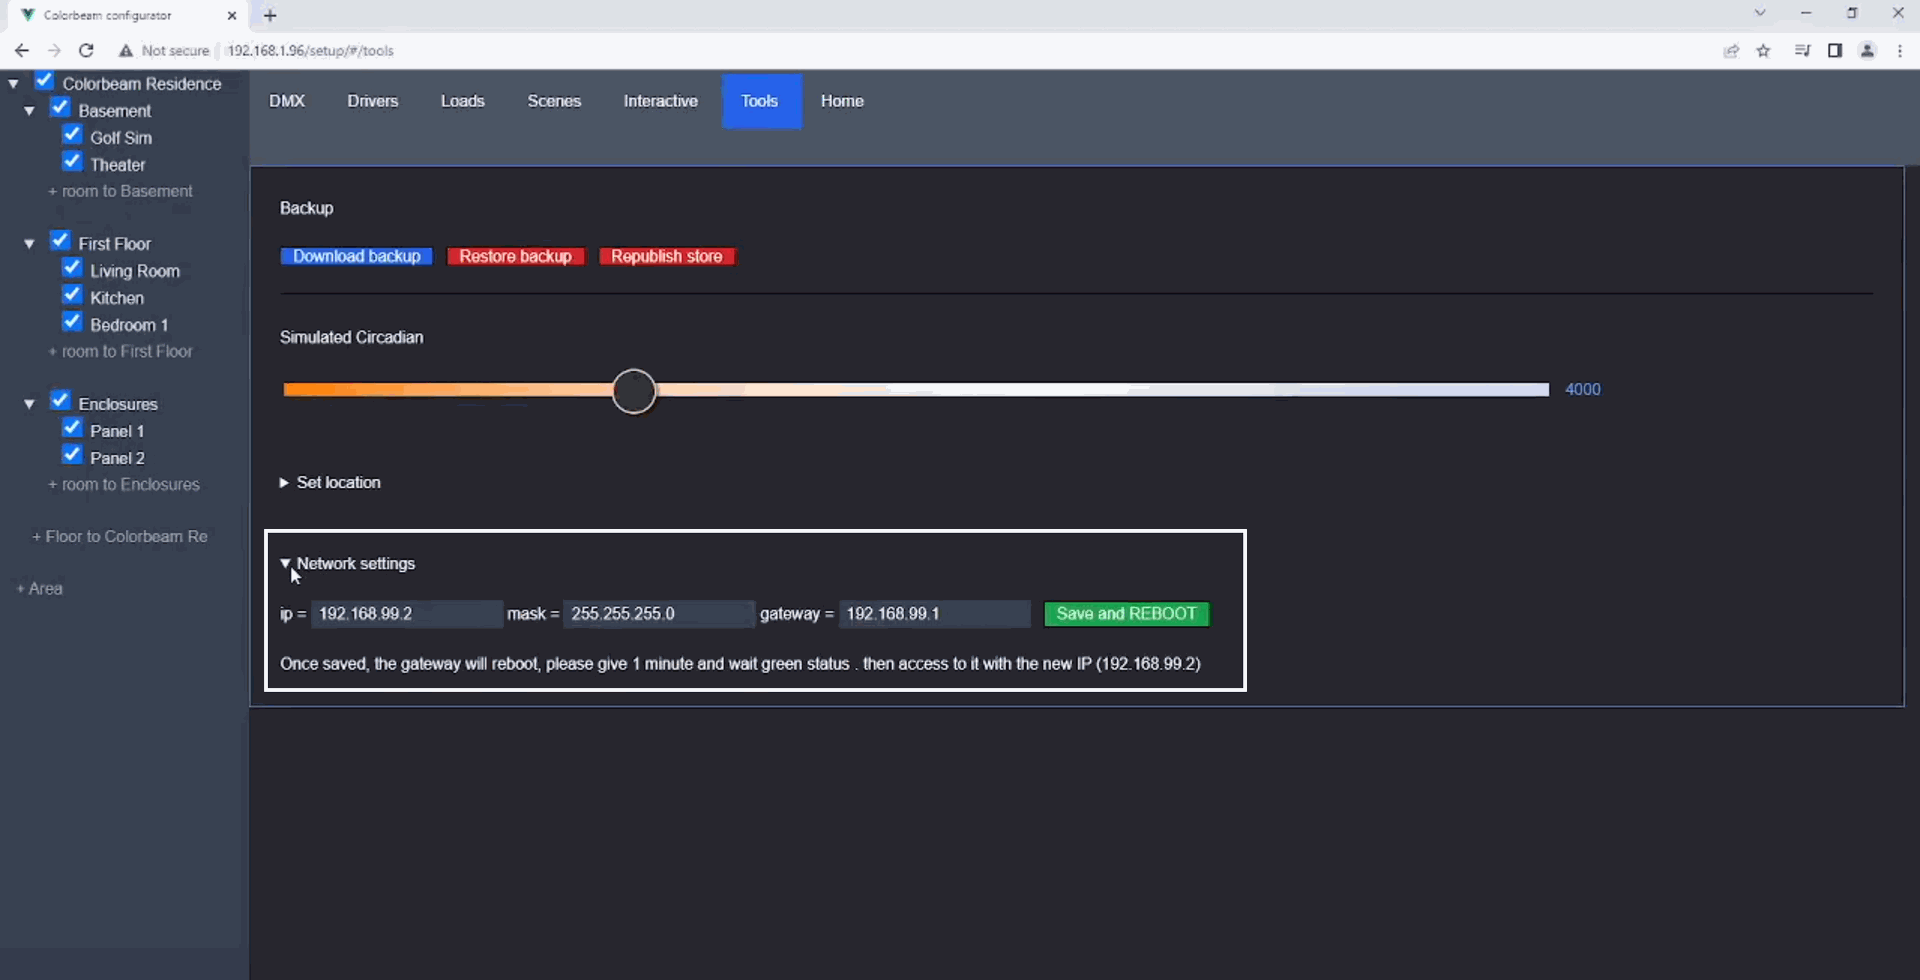
Create A Backup Of The Configuration
Backups of the configuration can be created at any point during setup.
Select  to create a backup and save it locally.
