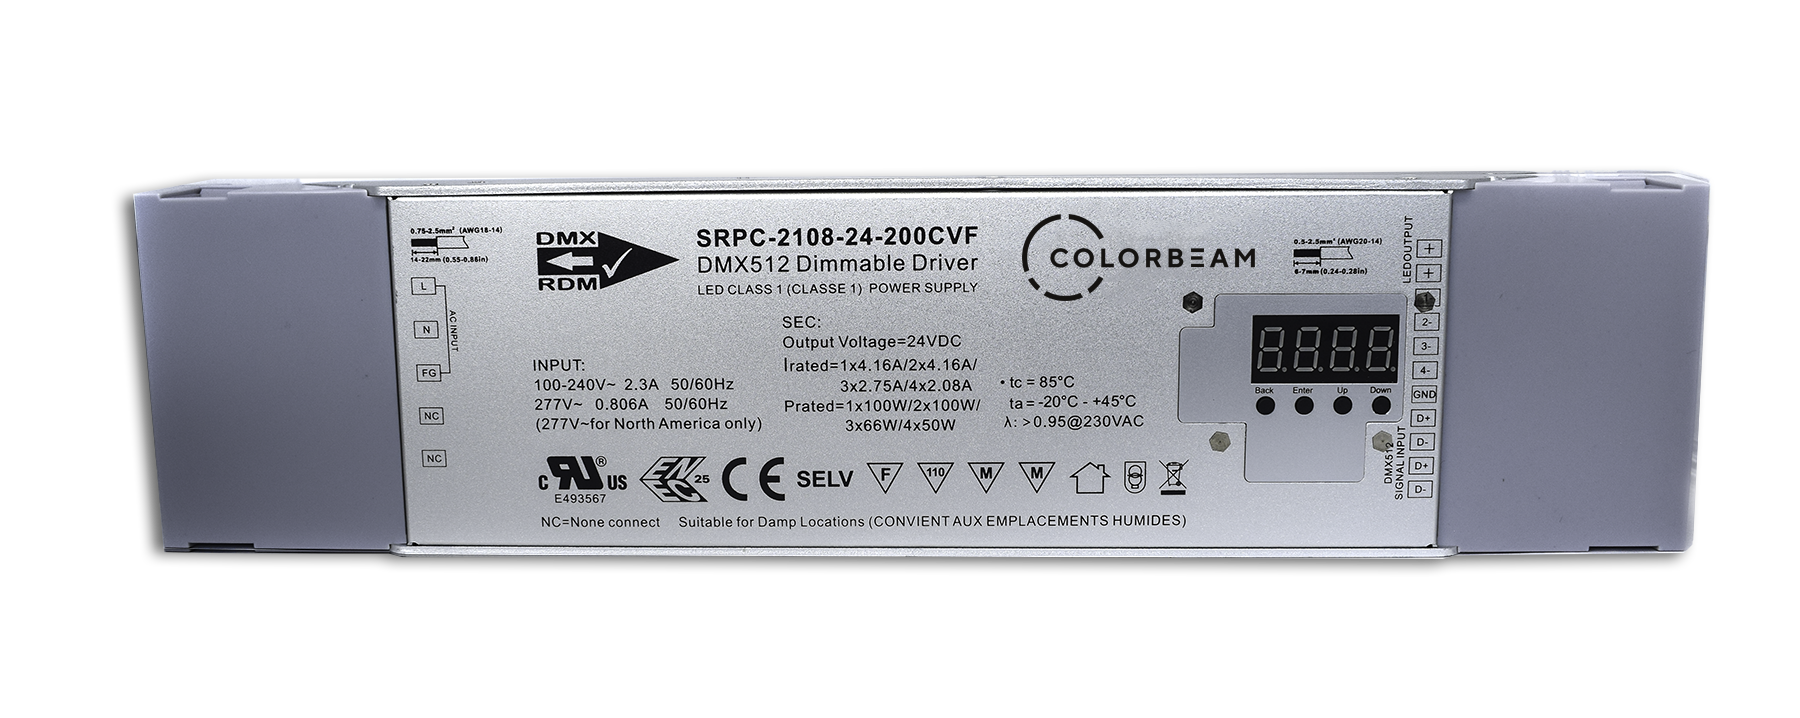
SRPC-2108-24-200CVF

This DMX driver supports 24v luminaires with a built-in 200W power supply.
DMX mode (run1)
Settings for v2 Firmware
Refer to v2 Firmware Configuration for Driver Settings in the GATEway web interface.
To configure the SRPC 2108 driver, ensure you follow these steps to set the CH setting to 04, the DP setting to dp1.1, and the driver’s first DMX address.
Set the driver’s CH setting to 04:
- Press “Up” until CH is shown, then “Enter”
- Press “Up” until CH04 is shown
- Press “Back” to confirm settings
Set the driver’s DP setting to dp1.1:
- Press “Up” until ‘DP’ is shown. Press “Enter”
- When the display is flashing, select 1.1
- Press “Back” to confirm settings
Set the driver’s first DMX address:
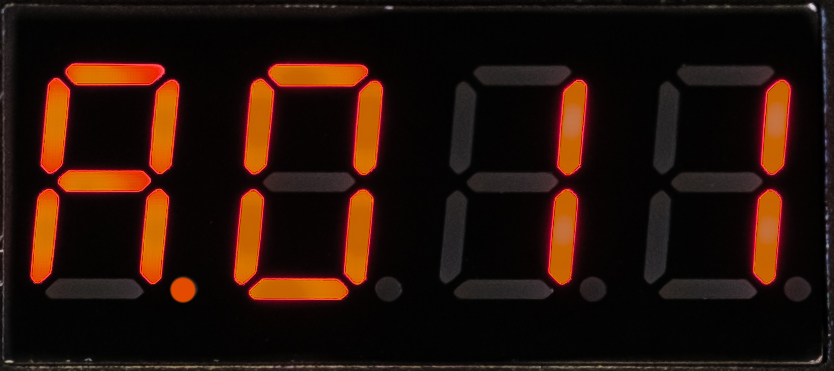
- Press the “Up” button until ‘A’ is displayed. Press “Enter”.
- When the display flashes click or hold the “Up” or “Down” buttons to select the starting DMX address desired.
- Click the “Back” button to confirm settings.
Settings for v1 Firmware
Refer to v1 Firmware Configuration for Driver Settings in the GATEway web interface.
To configure the SRPC 2108 driver, configure the CH setting and DP setting according to the type of lights being installed:
| CH Setting | DP Setting | |
|---|---|---|
| Single White | 01 | 1.1 |
| Bi-White | 02 | 3.2 |
| RGB | 03 | 4.3 |
| RGBW | 04 | 5.4 |
Change the driver’s CH setting:
- Press “Up” until CH is shown, then “Enter”
- Press “Up” to change the CH value
- Press “Back” to confirm settings
Change the driver’s DP setting:
- Press “Up” until ‘DP’ is shown. Press “Enter”
- When the display is flashing, press “Up” to change the DP value
- Press “Back” to confirm settings
Set the driver’s first DMX address:
- Press the “Up” button until ‘A’ is displayed. Press “Enter”.
- When the display flashes click or hold the “Up” or “Down” buttons to select the starting DMX address desired.
- Click the “Back” button to confirm settings.
Test mode (run2)
We’ll guide you through testing the connectivity between the lights and the drivers by turning on each channel of the lights using the driver.
Enter run2 mode: press the ‘Down’ button to navigate to the run menu. Press ‘Enter’ to access it, select ‘run2’ by pressing ‘Up’ and press ‘Back’ to confirm.
After making this change, power cycle the driver by disconnecting and then reconnecting the power.
Test the 1st channel: press ‘Up’ to find ‘1.00’. Press ‘Enter’ to access it, then set the channel to full brightness or ‘FL’ by pressing ‘Down’. Press ‘Back’ to confirm.
Turn off the channel: press ‘Enter’ to access the channel. Press “Up” or “Down” until “1.00”.
Test the 2nd channel: press ‘Up’ to the 2nd channel. Press ‘Enter’. Press ‘Down’ for full brightness or ‘FL’. Or you can press ‘Up’ to dim the channel from 0% to 100% brightness. Press ‘Back’ to confirm.
Continue testing the remaining channels.
Turn off all channels by setting their brightness back to 0, once you’ve finished testing.
Return to run1 mode: to receive DMX communication from the GATEway, press ‘Down’ to navigate to the run menu. Press ‘Enter’ to access it, then select run1 by pressing ‘Up’. Press ‘Back’ to confirm.
Power cycle the driver to complete the process.
